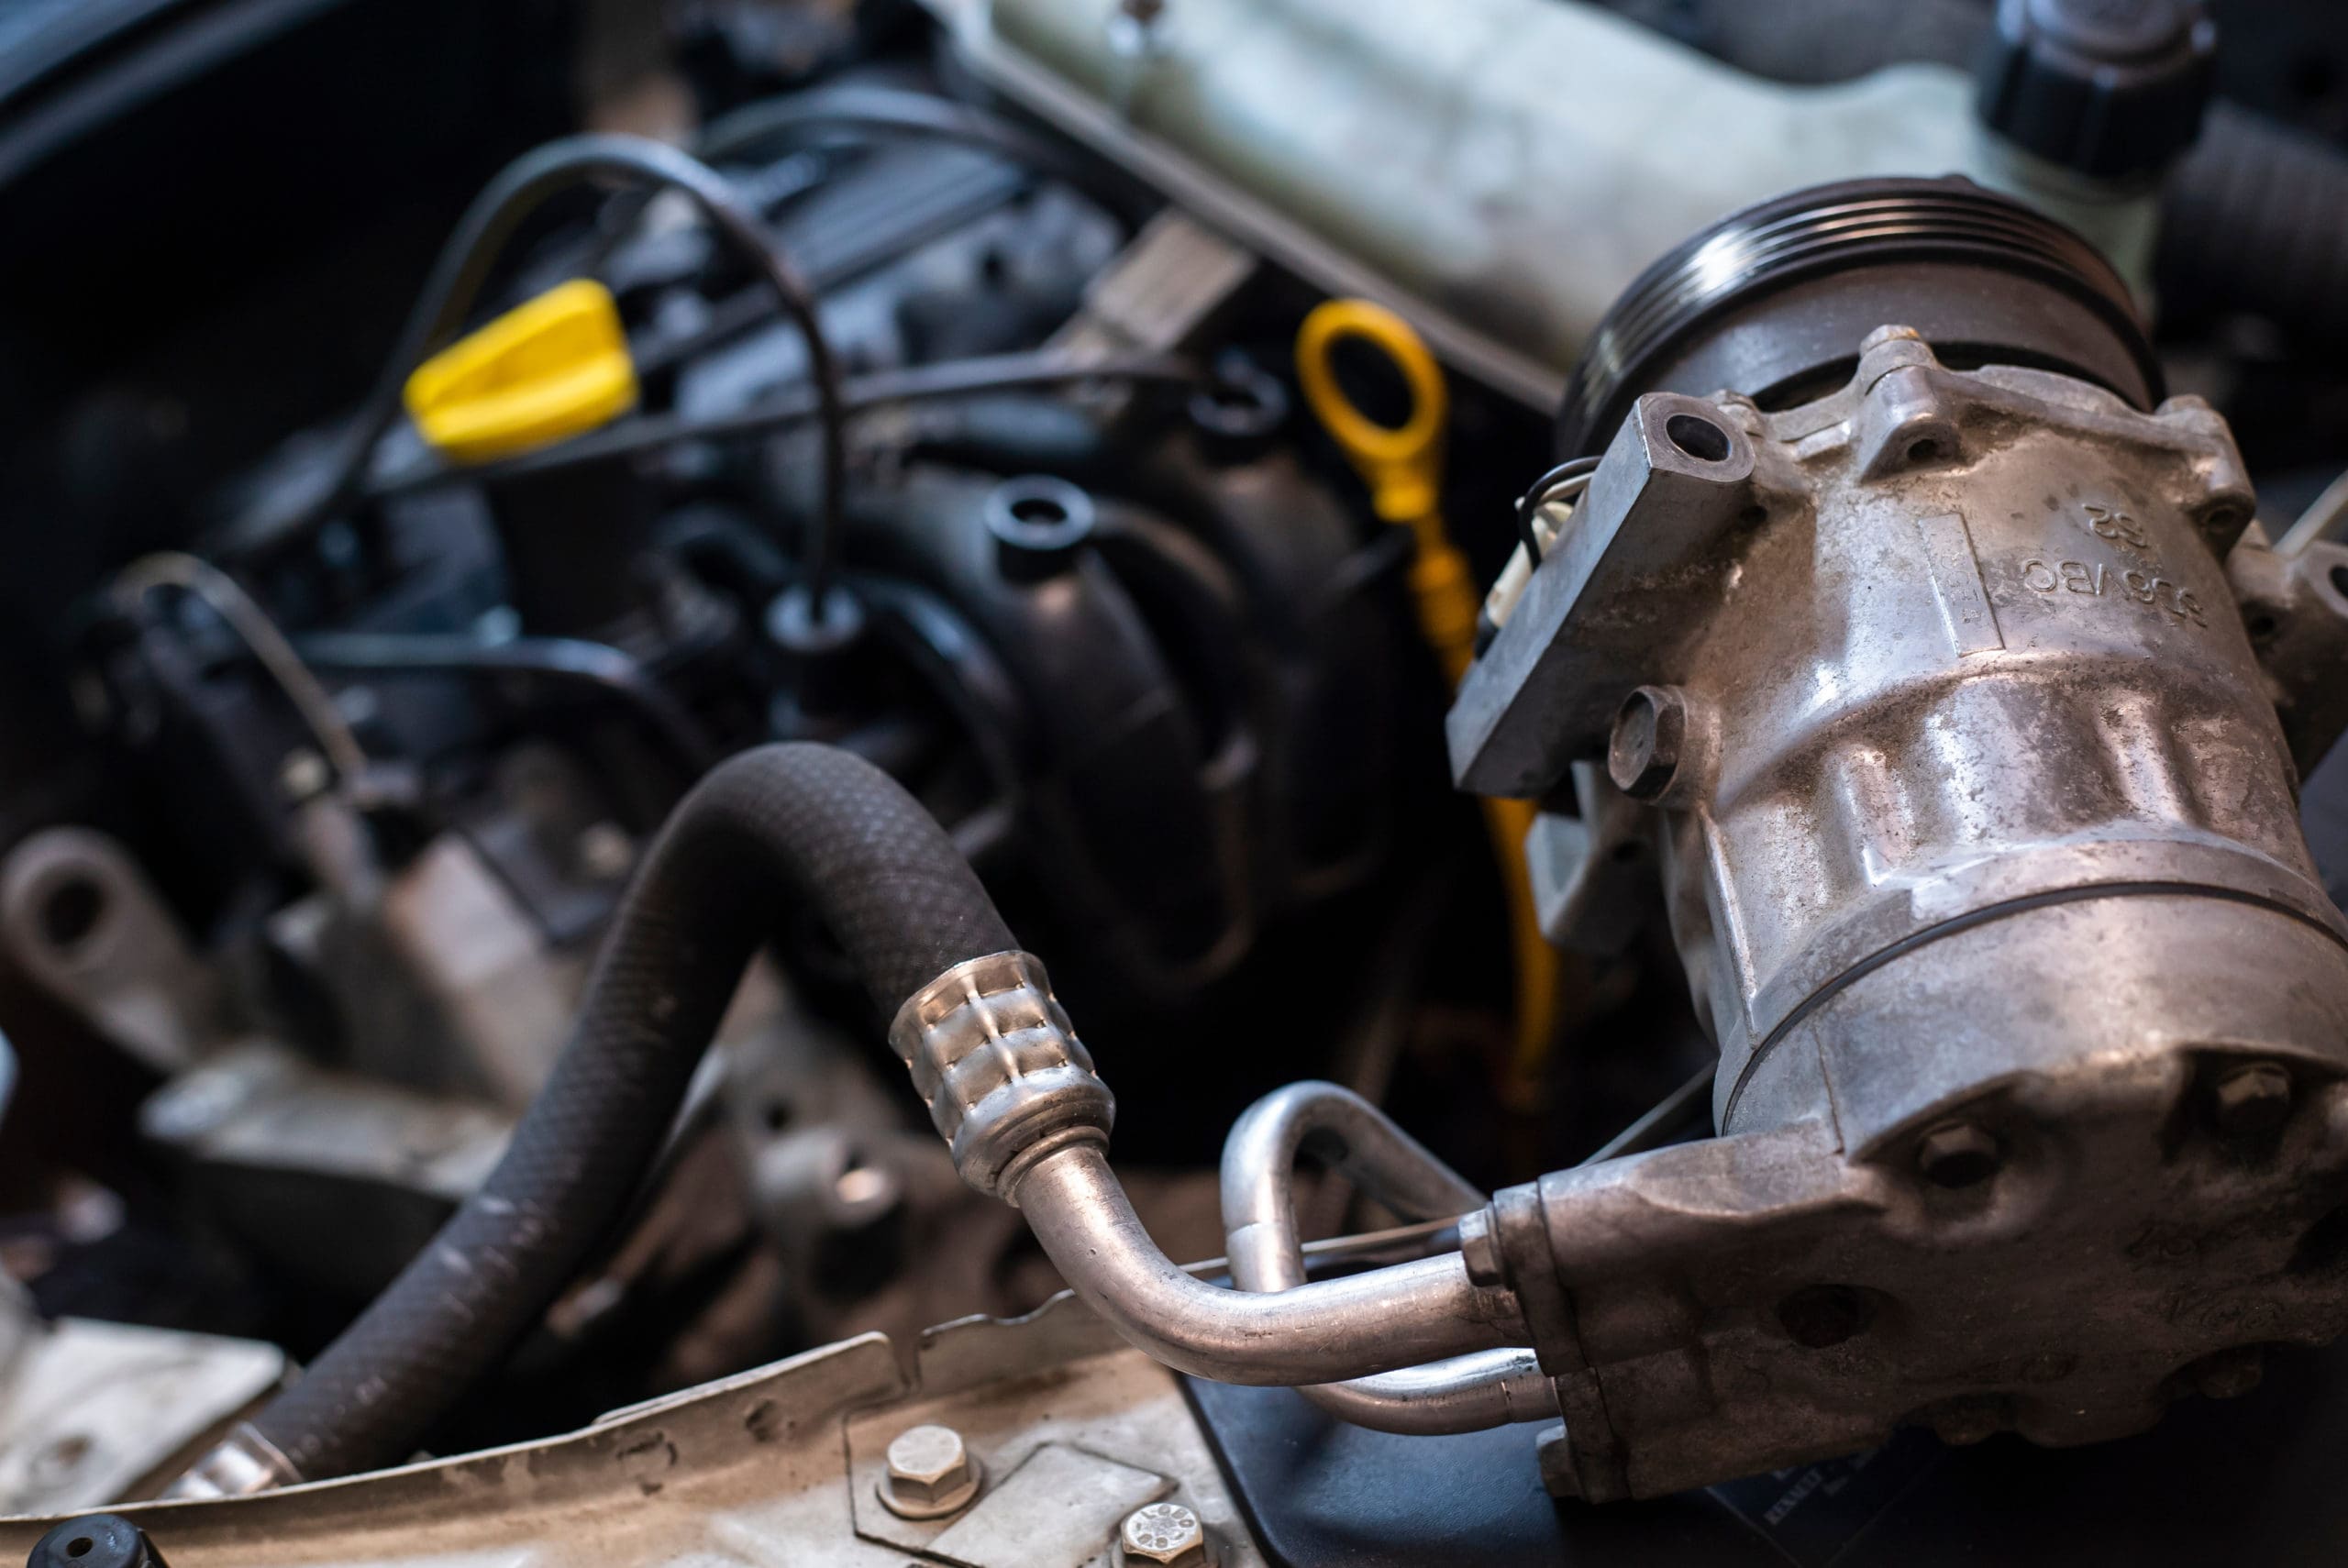
What does an A/C compressor do?
The compressor is responsible for pressurizing and distributing the coolant or refrigerant, that is so vital to the performance of the system. Whilst it may seem counterintuitive, since the job of the A/C system is to actually cool the interior of the vehicle, the compressor starts by compressing the refrigerant to raise the pressure, and therefore the temperature of the gas, before pushing it towards the condenser. It does this to make the refrigerant ready to change state from gas to liquid in the condenser.
Why do compressors fail?
Although compressors are designed to last the life of the vehicle, it’s the only moving part within the A/C system, meaning it’s subject to wear and tear every time the A/C is switched on. And in the summer, that can be a lot.
The most common cause of failure, however, is a lack of lubrication. Normally the result of a refrigerant leak from the compressor itself, condenser, evaporator, o-ring or hose, contaminated lubricated or a blocked expansion valve or orifice tube, it can cause the compressor to run dry and seize up.
Another possible issue is too much air and moisture in the system, because either the system has not been properly evacuated prior to recharging or there’s a leak. For optimum performance, the system
should contain less than two percent air by weight. Too much can negatively impact cooling performance, and in extreme cases, cause the evaporator to freeze up.
What are the symptoms of a faulty compressor?
 There a few warning signs, that indicate an issue with the compressor. These include:
- Reduced cooling performance: a faulty compressor will no longer be able to regulate the flow of refrigerant throughout the A/C system, hampering the performance of the rest of the system
- Grinding noises: wear to the compressor bearings or other metallic components could result in harsh grinding noises in the engine bay
- Faulty clutch: if the compressor clutch is faulty, it may not engage and activate the compressor
- Burning smell: a burning rubber smell coming from the engine bay, could indicate a seized compressor, as the serpentine belt will spin on the A/C compressor pulley
- Excessive wear to drive belt: a worn compressor pully will run out of line, often causing the compressor drive belt to grab and snatch, and resulting in premature wear
- High-pitched squeal: similarly, the belt can rub against the worn, and now unaligned pulley, giving off a high-pitched squeal
Best practice installation advice
You can reduce the chance of a comeback by following these easy installation tips:- Look out for contamination: tell-tale signs include cloudy or discolored lubricants, metal particulate and chemical residue. If you spot any, perform a system flush and install an in-line filter and suction screen. To avoid future issues, be sure to remove all chemical flush before recharging.
- Oil balance the compressor: when installing a new compressor on a vehicle, it’s important to make sure that the type and quantity of oil is as per the original spec – a process known as oil balancing. Typically, this involves draining and measuring the oil from the failed compressor, then adding the right volume of oil to the replacement unit. Always refer to the vehicle’s service manual or instructions provided with the compressor to know how much this is. Note that some compressors will come with a full or half charge of oil, which will need to be removed first.

- Rotate the compressor clutch: after oil balancing the compressor, we’d always recommend rotating the compressor clutch by hand, at least four turns prior to installation. This allows oil to circulate through the compressor, reducing the risk of damage due to dry bearings or high initial torque when the clutch is first engaged.
- Check other components: when the compressor fails, it often contaminates the condenser and accumulator dehydrator or receiver drier, so check the entire system for signs of contamination and replace components as needed.
- Evacuate the system: vacuum the system to remove unwanted air and moisture inside. When moisture mixes with refrigerant, it will react to form a highly corrosive acid, that can damage internal parts of the A/C system.
- Recharge the system: finally recharge the system to ensure the correct amount of refrigerant, as recommended by the vehicle manufacturer. Failure to do so could impact the vehicle’s cooling performance and even damage the new compressor.

The installation, maintenance and repair of HVAC systems should only be carried out by F-Gas certified technicians, with the right skills and equipment. So, if in any doubt, give us a call. All Carwood HVAC professionals are factory-trained and F-Gas qualified, to perform HVAC work to exacting OE standards.
For more on our HVAC services. Or to book your vehicle in here.
