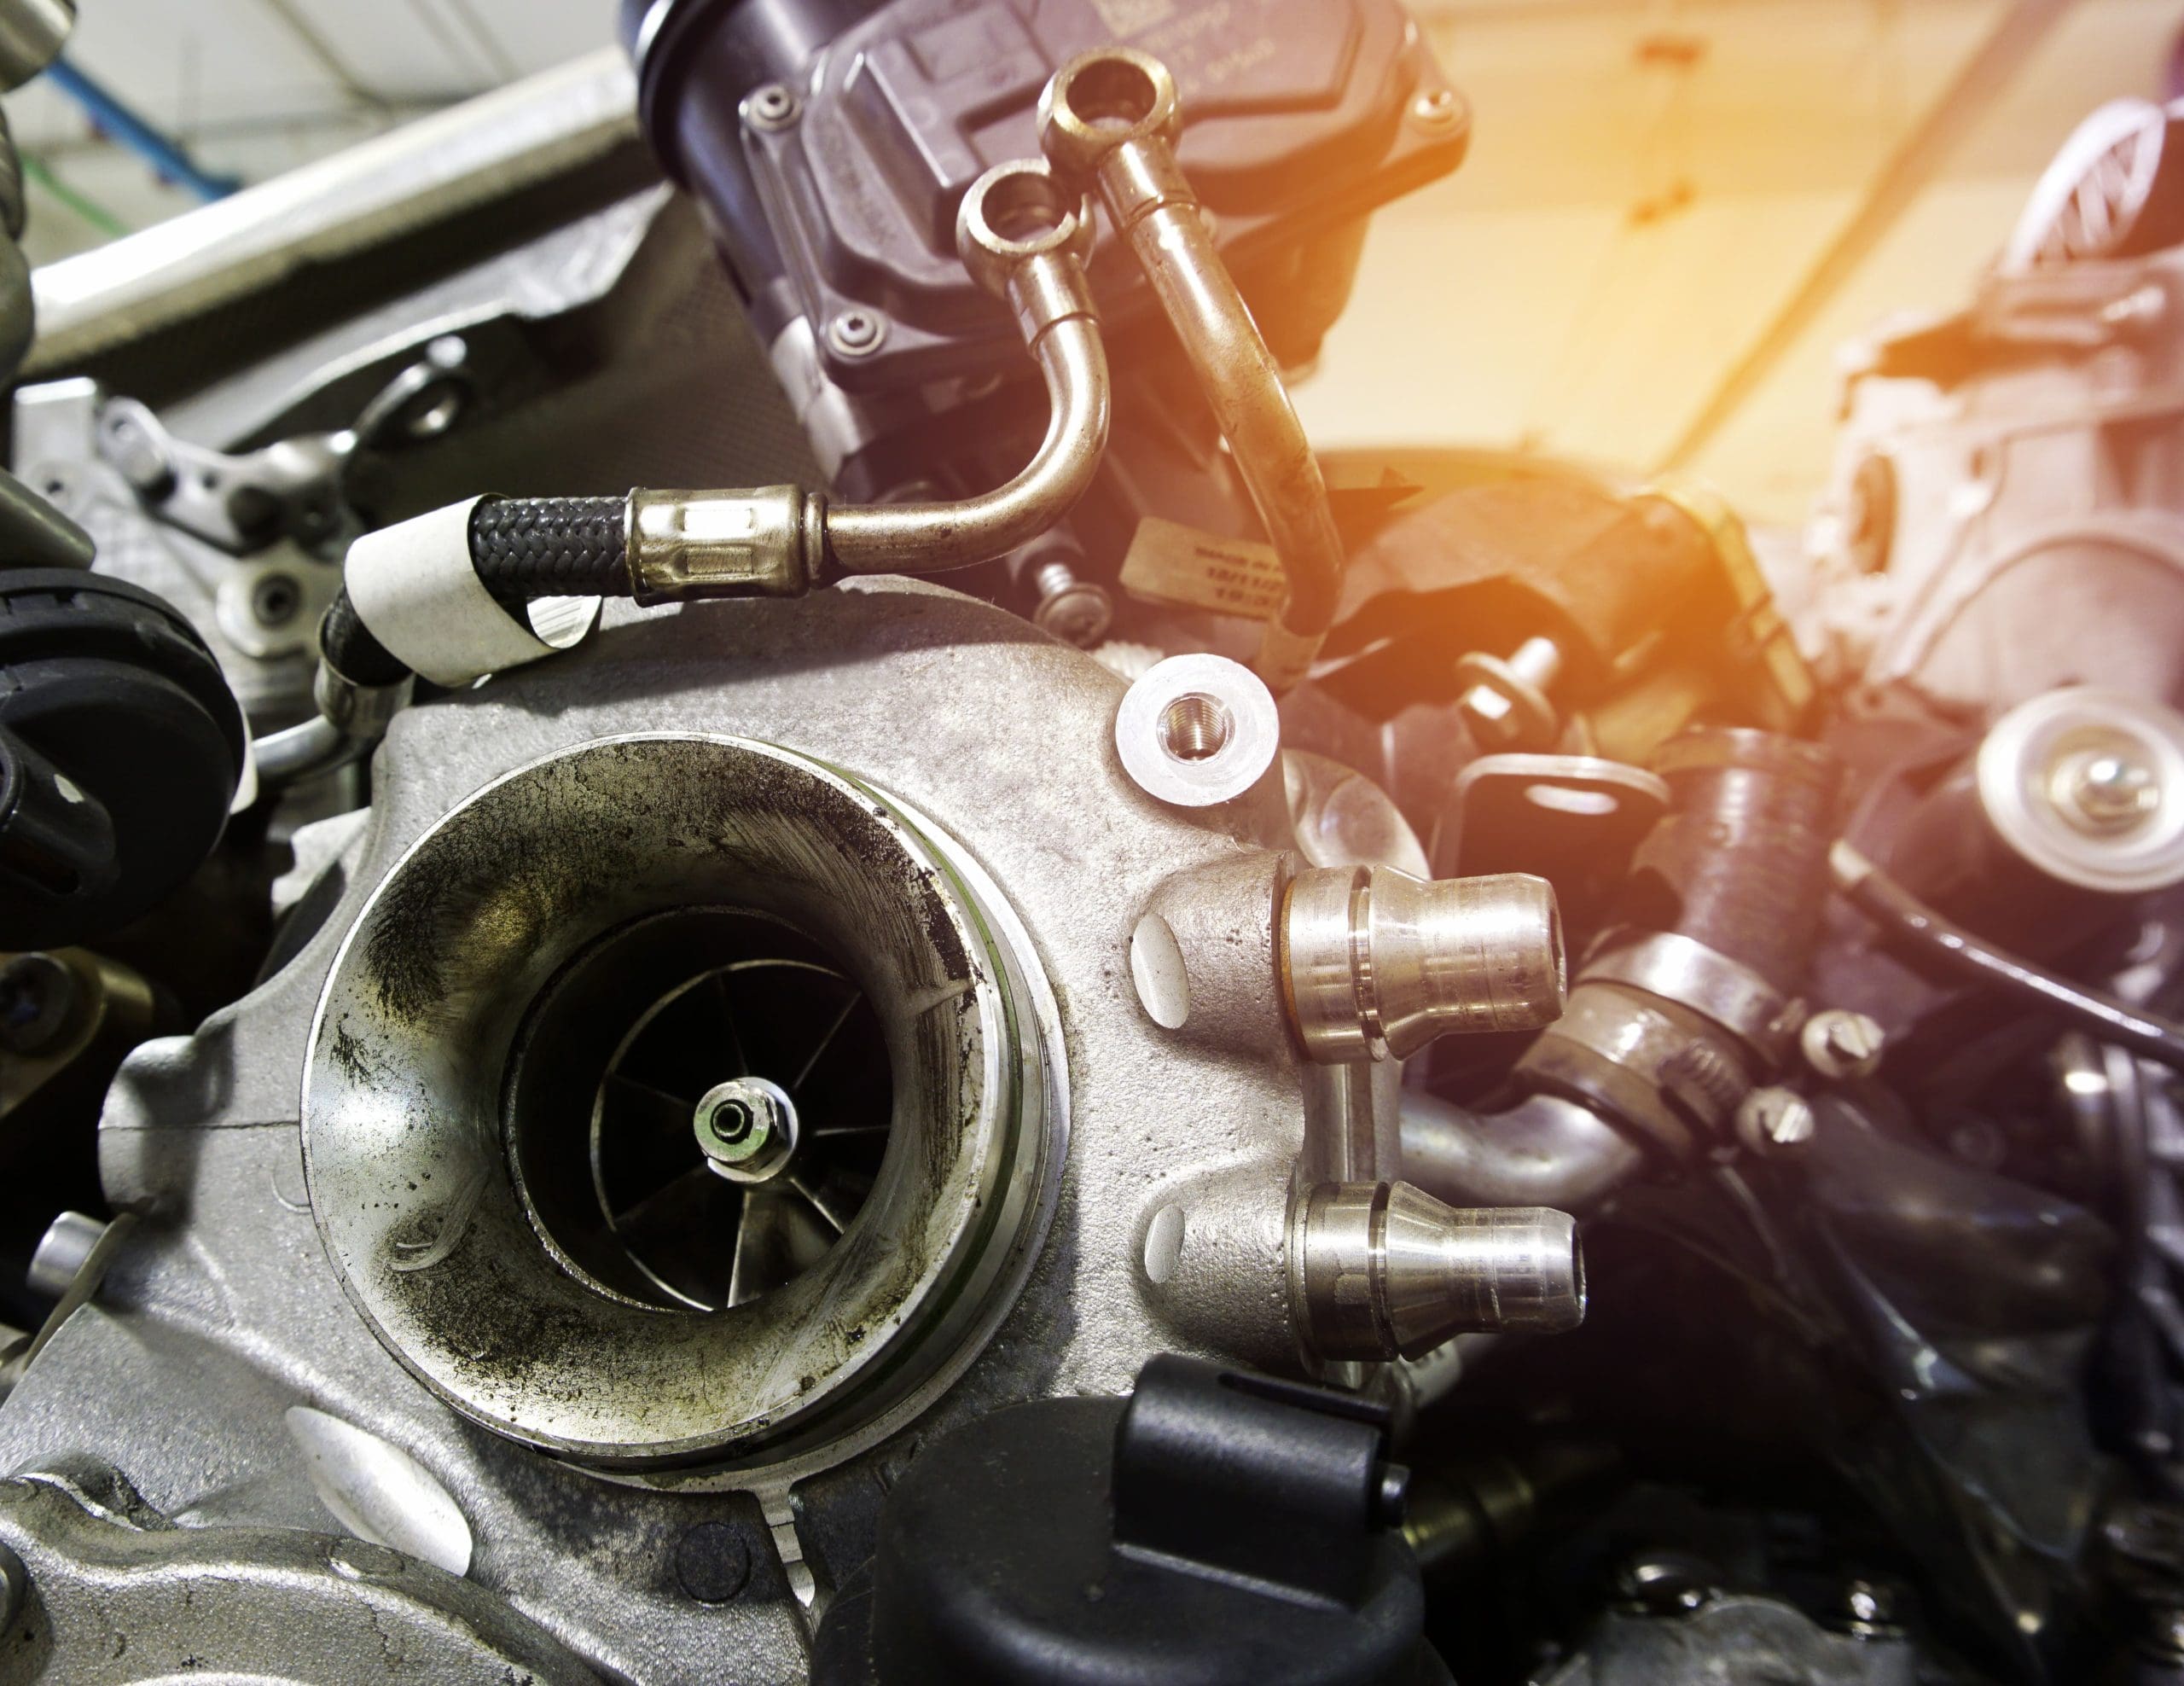
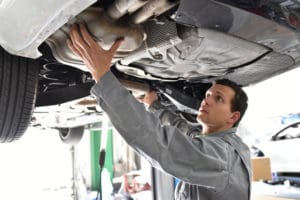
What is a turbo oil leak?
Unlike engine crankshaft and other rotating shafts, turbochargers are fitted with a dynamic, differential pressure sealing system, to keep the oil where it should be – lubricating and cooling the components. So anything which interferes with this finely balanced pressure, for example, a restriction in the air and/or oil drain systems, can cause oil – the lifeblood of any turbo – to leak from the end housings. This can cause major and costly damage to the bearing systems, within seconds of the turbo starting up.
What causes turbo oil leaks?
Oil leaks can be caused by a variety of issues, primarily due to pressure differences. These include:
- a poorly routed, damaged or blocked oil return pipe can restrict flow, causing pressure to build and leaks at either end
- too much oil in the engine can cause similar issues to above
- high back pressure, from a blocked DPF for example, can hasten wear to piston ring seals, making them more prone to leaks
- contaminants in the oil also causing wear to the piston ring seals
- repeated hot engine shutdowns causing ‘heat soak’ in the center housing and wear to key components including seals
- restrictions on the air intake side, such as a blocked filter, can create a vacuum, pulling oil past the seal on the compressor end
- engine idling for a long period can also create a vacuum, allowing oil to leak into the turbine housing
- blocked or faulty exhaust system components can create high back pressure, pushing oil past the seals on the compressor side
- blocked crank case ventilation, or too much blow-by, causing a build-up of surplus gas and leaks from both ends
What are the signs of an oil leak?
With the potential for oil leaks to cause significant damage, it’s important to keep an eye out for some tell-tale signs:
- oil warning light illuminated
- blue/grey exhaust smoke when the leaked oil is burned off
- power loss
- oil leakage from the turbine or compressor housing or both
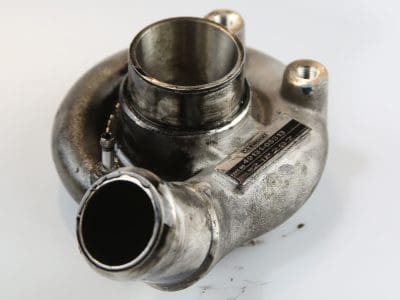
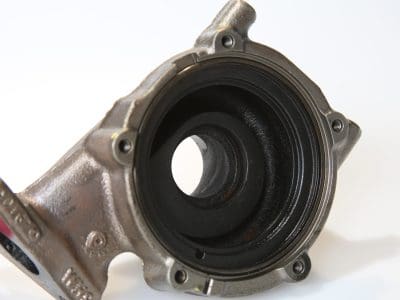
- build up of oil in the intake system and charge air cooler
- uncontrolled overspeeds when any oil that collects in the charge air cooler is blown into the engine and combusted
- coking on the turbine housing outlet, bearing housing turbine side face and bore, VVT assembly, wastegate throat and flap
- worn or damaged shaft piston ring seals
- clogged oil flinger grooves at turbine and compressor sides
- worn seal plate bore at the compressor side
- turbine wheel blades coated in thick black oil
- oil on compressor blades
- turbine exhaust outlet wet with sticky black oil

How to prevent turbo failure caused by oil leaks
By adopting a methodical approach to your work, the risk of turbo failure due to oil leaks can be minimised:
- fit new OE-quality oil return lines when replacing or refitting a turbo – ensure the line is correctly routed, on a downhill path with no kinks/bends or other obstructions, torque tightened to VM settings and heat shields installed
- check that the entire air intake system including the air filter, air intake pipe or hose and intercooler is clean and not obstructed – replace as needed
- fit new OE-specification air and oil filters
- replace the charge air cooler, as needed
- check the crankcase ventilation and replace if necessary,
- perform a compression test on the engine to check for excessive crank case pressure
- inspect the exhaust system for any leaks and blockages to the DPF, catalytic converter etc – clean and replace, where relevant
- use the correct grade oil and fill to the optimum level
- never use silicone on oil gaskets – it can easily become detached and block oil passages
- only ever use new OE-quality gaskets, seals and fitting kits
- allow the engine to cool for a couple of minutes, before switching off, after a hard drive
How to resolve oil leaks?
If an oil leak is suspected, follow the steps to resolve:
- remove oil lines, oilways, galleries and related systems post turbo and replace as required
- check the intercooler, and pipes to and from it, and clean and replace if needed
- check the engine’s breather system for blockages or restrictions and replace as necessary
- if the vehicle has been idled excessively after fitment, check the oil levels and take the vehicle for a test run under load – if the vehicle continues to smoke, or the level of smoke increases, further investigation will be required
Whilst this may add additional expense to your customer’s bill, it is far more cost and time-effective than having to fit another turbo, and potentially an engine, when they return with the same issue soon after. So, remember to always diagnose and fix what caused the original unit to fail, before fitting a new turbo.
